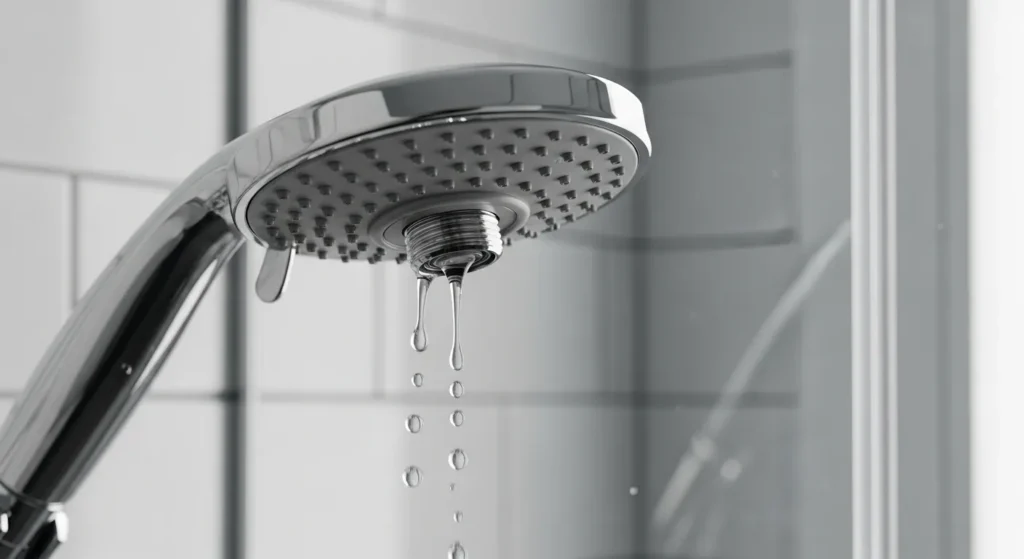




A leaky shower head is one of the most common plumbing problems homeowners face. Whether it drips constantly or only leaks when the water is turned off, this issue wastes water, drives up your utility bill, and can lead to mold or mildew in your bathroom. The good news is that many shower head leaks are straightforward to diagnose and fix with basic tools. In this guide, we will walk you through the most common causes of a leaking shower head and show you how to fix each one step by step.
Contact 911 Drain Lines and Plumbing or call (714) 909-1175 for fast, professional plumbing repairs.
Why Is My Shower Head Leaking?
Before you grab your tools, it helps to understand why your shower head is dripping in the first place. The cause determines the fix, and a quick diagnosis can save you time and money. Here are the most common reasons a shower head leaks:
- Worn washer or O-ring: Over time, the rubber washer or O-ring inside the shower head connection deteriorates, cracks, or hardens. This creates gaps where water seeps through even when the valve is closed.
- Loose shower head connection: The threaded connection between the shower arm and the shower head can loosen over time due to vibration, thermal expansion, or simply being bumped during cleaning.
- Damaged or old Teflon tape: Plumber’s tape (PTFE/Teflon tape) wrapped around the shower arm threads creates a watertight seal. When this tape degrades or was never applied correctly, water leaks at the joint.
- Faulty shower valve or cartridge: If water continues to drip from the shower head even when the faucet handle is fully turned off, the internal valve or cartridge may be worn out. This is a more involved repair that sometimes requires a plumber.
- Mineral buildup and sediment: Hard water deposits can accumulate inside the shower head, blocking the normal flow path and forcing water to find alternate escape routes, including the connection point.
- Cracked shower head body: Physical damage to the shower head housing itself can cause leaks that no amount of tightening or tape will fix. The only solution here is replacement.
Understanding the root cause helps you choose the right repair approach. If you are dealing with water leak detection issues in other areas of your home, the same principle applies: identify the source before attempting a fix. For expert help, contact our water heater repair team.
What Tools Do You Need to Fix a Leaky Shower Head?
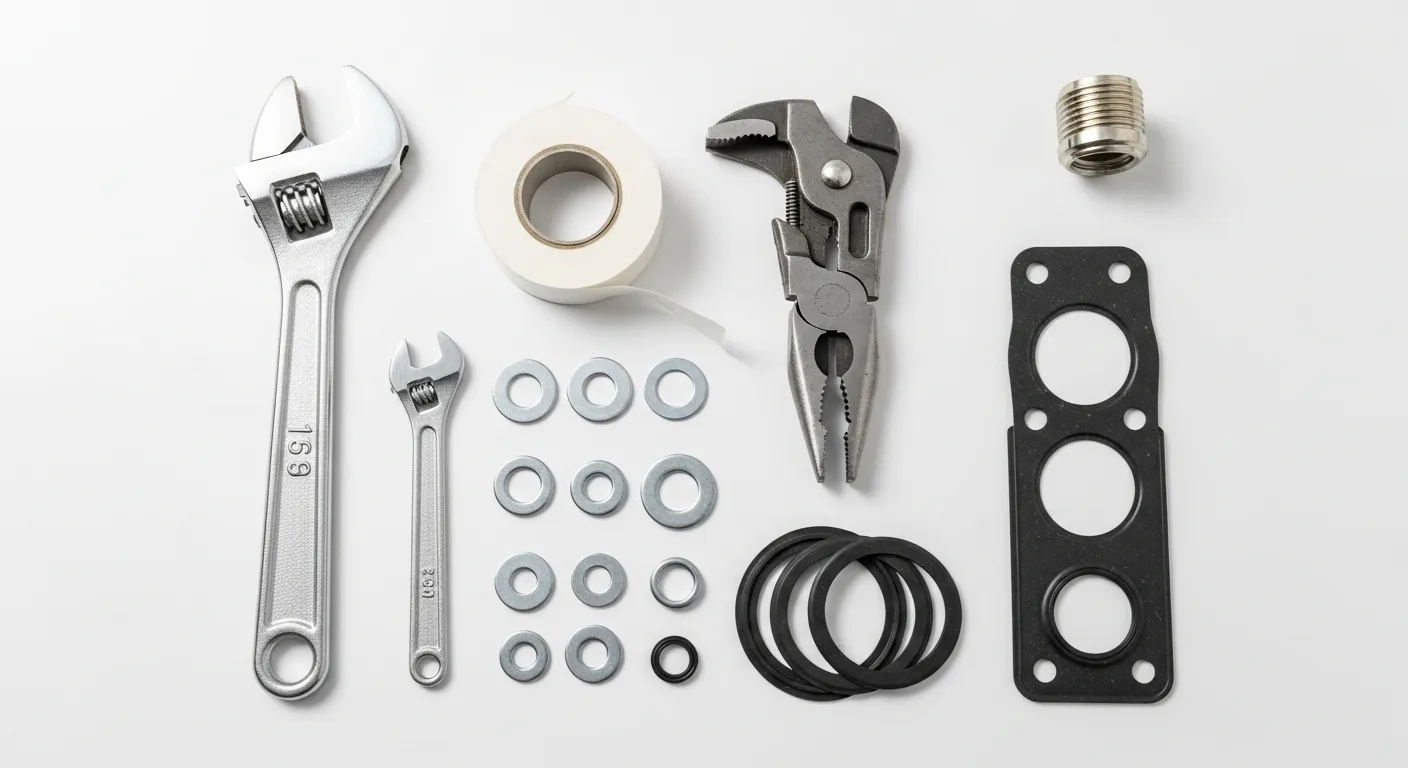
Most shower head repairs require only a few basic tools that you likely already have at home. Gather these before you start:
- Adjustable wrench or channel-lock pliers
- Teflon tape (PTFE thread seal tape)
- Replacement washers or O-rings (bring the old one to the hardware store to match the size)
- White vinegar (for cleaning mineral deposits)
- Old toothbrush (for scrubbing buildup)
- Soft cloth or rag (to protect the finish from wrench marks)
- Plumber’s grease (optional, for lubricating O-rings)
Having everything ready before you begin means you will not need to stop mid-repair to hunt for supplies. Before working on any plumbing fixture, you should know how to turn off water to your house in case you need to shut off the main supply.
How Do You Fix a Shower Head That Drips at the Connection?
The most common type of shower head leak occurs right where the head connects to the shower arm. This is usually caused by worn Teflon tape, a loose connection, or a bad washer. Follow these steps:
- Turn off the water supply. You can usually turn off just the shower valve, but if it does not stop the flow completely, shut off the water at the main valve.
- Remove the shower head. Wrap a cloth around the shower head connection to protect the finish. Use your adjustable wrench to turn the shower head counterclockwise until it comes off. Some models unscrew by hand.
- Inspect the washer and O-ring. Look inside the shower head where it connects to the arm. You should see a rubber washer or O-ring. If it is cracked, flattened, or brittle, replace it.
- Clean the threads. Remove any old Teflon tape from the shower arm threads. Use the toothbrush and vinegar to clean away mineral deposits or corrosion.
- Apply new Teflon tape. Wrap 3 to 5 layers of Teflon tape clockwise around the shower arm threads. Keep it tight and smooth with no wrinkles.
- Reattach the shower head. Hand-tighten the shower head onto the arm, then give it an additional quarter turn with the wrench. Do not overtighten, as this can crack the fitting.
- Test for leaks. Turn the water back on and let it run for a minute. Check the connection point for any drips.
This fix resolves the majority of shower head leaks. If you have also noticed issues like low water pressure in your house, mineral buildup on the shower arm threads could be contributing to both problems.
How Do You Clean a Shower Head Clogged with Mineral Deposits?
If your shower head is leaking because of hard water buildup, cleaning it thoroughly can restore proper flow and stop the leak. Here is how to do it:
- Remove the shower head using the steps above.
- Soak in vinegar. Place the shower head in a bowl or plastic bag filled with white vinegar. Let it soak for at least 2 to 4 hours, or overnight for heavy buildup.
- Scrub the nozzles. Use the toothbrush to scrub the spray nozzles and any visible mineral deposits. A toothpick can help clear individual nozzle holes.
- Rinse and reinstall. Rinse the shower head under running water, reapply Teflon tape to the arm threads, and reattach.
Regular cleaning every few months prevents mineral buildup from causing leaks and keeps water pressure strong. This is especially important in Orange County and the Inland Empire, where hard water is common.
How Do You Replace a Faulty Shower Valve or Cartridge?
If your shower head drips even when the handle is completely turned off, the problem is likely inside the wall with the shower valve or cartridge. This is a more advanced repair:
- Turn off the water supply to the shower. You may need to shut off the main water supply.
- Remove the handle. Pry off the decorative cap, remove the screw underneath, and pull off the handle.
- Remove the escutcheon plate (the decorative plate against the wall) to expose the valve.
- Pull out the cartridge or valve stem. Depending on your shower type (single-handle or two-handle), you may need a cartridge puller tool. Note the brand and model so you can get the correct replacement.
- Install the new cartridge. Insert the replacement cartridge, reassemble the escutcheon plate and handle, and turn the water back on.
- Test thoroughly. Run the shower and then turn it off completely. Wait several minutes to confirm there are no drips.
Valve and cartridge replacements can be tricky, especially in older homes with corroded pipes. If you are not comfortable working inside the wall, this is a good time to call a licensed plumber. A leaking valve can also be related to other plumbing concerns; learn about how to fix a leaky faucet for similar valve repair techniques.
What Are the Most Common Causes and Fixes at a Glance?
This comparison table summarizes the most common causes of a leaky shower head, the difficulty of a DIY repair, and when you should consider calling a professional:
| Cause | DIY Difficulty | Estimated Cost | When to Call a Pro |
|---|---|---|---|
| Worn washer or O-ring | Easy | $2 to $5 | If replacing the washer does not stop the leak |
| Loose connection | Easy | Free (just tighten) | If threads are stripped or corroded |
| Degraded Teflon tape | Easy | $1 to $3 | Rarely needed for this fix |
| Mineral buildup | Easy to Moderate | $0 to $5 (vinegar) | If buildup has damaged internal components |
| Faulty valve/cartridge | Moderate to Hard | $15 to $60 for parts | Recommended for most homeowners |
| Cracked shower head | Easy (replace unit) | $20 to $100+ | If you want help selecting and installing the right model |
How Can You Prevent Your Shower Head from Leaking Again?
Once you have fixed the leak, a few preventive measures will help keep your shower running smoothly for years:
- Clean your shower head every 3 to 6 months to prevent mineral buildup, especially if you have hard water.
- Use quality Teflon tape whenever you remove and reattach the shower head.
- Do not overtighten connections. Excessive force can crack fittings or strip threads.
- Replace washers and O-rings proactively if they look worn during cleaning.
- Address low water pressure promptly. Pressure issues can put extra stress on seals and connections.
- Schedule annual plumbing inspections to catch small problems before they become expensive repairs.
If you notice slow drainage alongside your shower head issues, you may also want to read our guide on how to unclog a shower drain to keep everything flowing properly.
When Should You Call a Plumber for a Leaky Shower Head?
While many shower head leaks are simple DIY fixes, some situations call for professional help:
- The shower continues to drip after you have replaced the washer, O-ring, and Teflon tape
- You suspect the valve or cartridge inside the wall is faulty
- There are signs of water damage on the wall, ceiling below, or adjacent rooms
- The shower arm is corroded, stripped, or stuck and will not unscrew
- You have an older home with galvanized or polybutylene pipes that may need updating
- Multiple fixtures in your home are leaking or showing pressure problems
A licensed plumber can diagnose the exact issue, access components inside the wall safely, and ensure the repair meets building codes. At 911 Drain Lines and Plumbing, we serve homeowners throughout Orange County and the Inland Empire with 24/7 emergency plumbing service.
Contact 911 Drain Lines and Plumbing or call (714) 909-1175 today to schedule your shower repair.
Frequently Asked Questions
Why does my shower head drip after I turn off the water?
A shower head that drips after the water is turned off usually indicates a worn valve cartridge or faulty internal seal. Residual water in the shower arm can also drip for 30 to 60 seconds after shutoff, which is normal. If dripping continues beyond a minute or two, the valve likely needs repair or replacement.
Can a leaky shower head increase my water bill?
Yes. A shower head dripping at one drip per second wastes approximately 3,000 gallons of water per year. That adds up to a noticeable increase on your water bill, plus the environmental impact of wasted water.
How often should I replace the washer in my shower head?
Shower head washers and O-rings typically last 3 to 5 years under normal use. If you have hard water or use the shower frequently, you may need to replace them more often. Inspect them whenever you clean the shower head.
Is it better to repair or replace a leaky shower head?
If the leak is caused by a worn washer, loose connection, or mineral buildup, a repair is the most cost-effective choice. If the shower head body is cracked, severely corroded, or very old, replacing the entire unit is the better option. A new shower head costs between $20 and $100 for most standard models.
Do I need to turn off the main water supply to fix a shower head leak?
For most shower head repairs at the connection point, you only need to turn off the shower valve. However, if you are replacing the valve cartridge or if the shower valve does not fully stop the water, you should turn off the main water supply to your home.