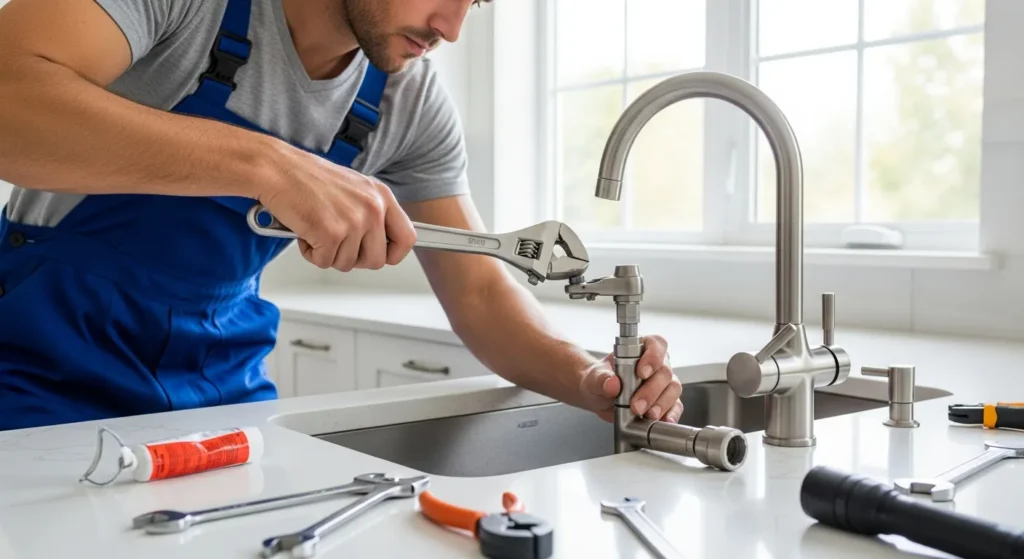




Replacing a kitchen faucet is one of the most common plumbing upgrades homeowners tackle. Whether your old faucet is leaking, outdated, or simply not performing well, a new kitchen faucet can improve water flow, update your kitchen’s look, and eliminate frustrating drips. The good news is that most kitchen faucet replacements take just one to two hours when you have the right tools and know the correct steps. If the issue persists, consider scheduling residential plumbing services with a licensed professional. If the issue persists, consider scheduling water heater repair with a licensed professional.
In this guide, we walk you through every step of how to replace a kitchen faucet, from choosing the right model to making final connections. We also cover common mistakes, different faucet types, and when it makes sense to call a professional plumber instead of going the DIY route.
Need professional faucet installation? Call 911 Drain Lines and Plumbing at (714) 909-1937 for expert plumbing service in Orange County and the Inland Empire.
What Tools and Supplies Do You Need to Replace a Kitchen Faucet?
Before you start removing your old faucet, gather everything you need. Having the right tools on hand will save you multiple trips to the hardware store and make the job go much faster.
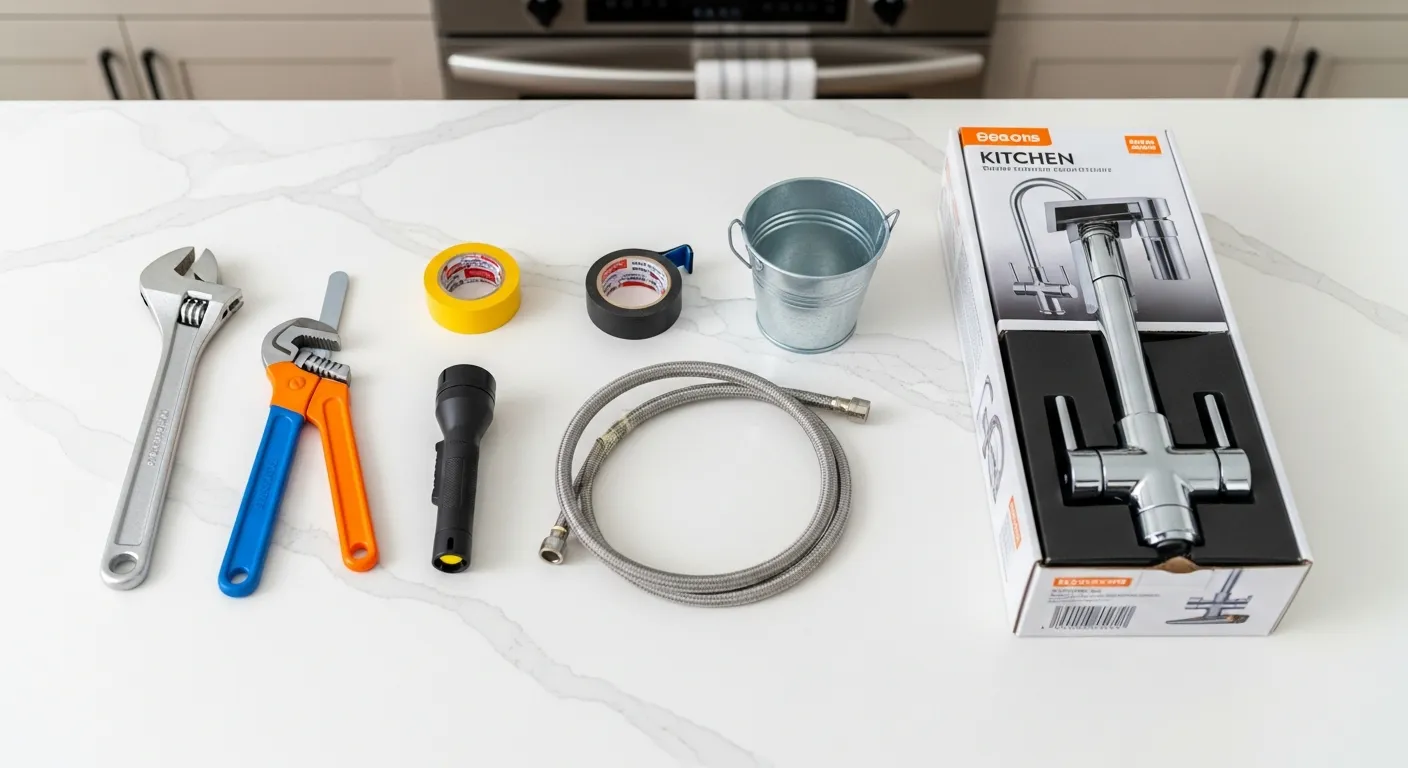
Essential tools:
- Basin wrench (critical for reaching mounting nuts in tight spaces under the sink)
- Adjustable wrench
- Channel-lock pliers
- Flashlight or headlamp
- Bucket and towels
- Plumber’s tape (Teflon tape)
- Putty knife or flathead screwdriver
Supplies you may need:
- New kitchen faucet (with mounting hardware included)
- New flexible supply lines (braided stainless steel recommended)
- Plumber’s putty or silicone caulk
- Penetrating oil (for corroded connections)
If your existing water pressure is low, this is also a great time to investigate the cause. Replacing the faucet alone will not fix supply-side pressure issues.
How Do You Choose the Right Kitchen Faucet for Your Sink?
Not every faucet fits every sink. Before purchasing, check three key measurements:
- Number of mounting holes: Count the holes in your sink or countertop. Most sinks have one, three, or four holes. Single-hole faucets are popular in modern kitchens, while three-hole setups accommodate separate handles and a sprayer.
- Hole spacing: Measure the distance between holes (center to center). Standard spacing is 8 inches for widespread faucets and 4 inches for centerset models.
- Sink depth and reach: A faucet with a high arc spout works well for deep sinks, while a low-profile faucet suits shallow basins.
Consider your daily kitchen habits. If you wash large pots frequently, a pull-down sprayer offers more flexibility. If you prefer a clean, minimal look, a single-handle design keeps things simple.
Kitchen Faucet Types Comparison
| Faucet Type | Best For | Pros | Cons | Price Range |
|---|---|---|---|---|
| Single-Handle | Most kitchens | Easy one-hand operation; fewer holes needed; simple installation | Less precise temperature control | $50 to $300 |
| Double-Handle | Traditional kitchens | Precise hot/cold control; classic look | Requires more counter holes; slower adjustments | $60 to $350 |
| Pull-Down Sprayer | Deep sinks, heavy cooking | Flexible spray head; great reach; easy pot filling | Hose can wear over time; higher cost | $100 to $500 |
| Pull-Out Sprayer | Small sinks, limited space | Compact design; good for small sinks; versatile spray | Shorter reach than pull-down; less powerful spray | $80 to $400 |
| Touchless | Hygiene-focused kitchens | Hands-free operation; reduces germ spread; modern appeal | Requires batteries or power; higher price; sensor issues possible | $150 to $700 |
How Do You Remove the Old Kitchen Faucet?
Removing the existing faucet is often the hardest part of the job, especially if the connections are old and corroded. Follow these steps carefully to avoid damaging your sink or countertop.
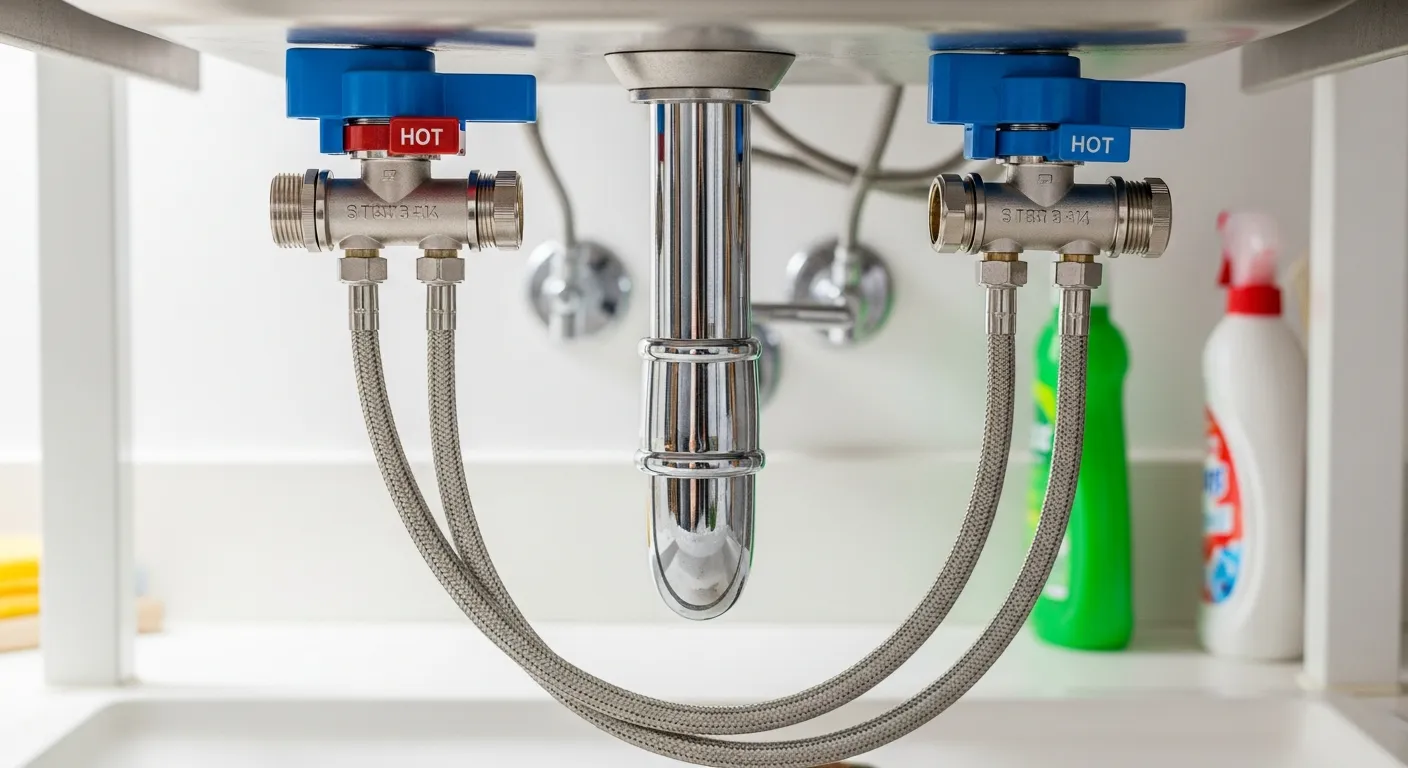
Step 1: Turn off the water supply. Locate the hot and cold shutoff valves under the sink and turn them clockwise until fully closed. If you cannot find shutoff valves under the sink, turn off the main water supply to the house.
Step 2: Relieve pressure. Turn the faucet handles to the open position and let any remaining water drain into the sink. Place a bucket underneath the supply lines to catch drips.
Step 3: Disconnect the supply lines. Use an adjustable wrench to loosen the nuts connecting the supply lines to the shutoff valves. Have towels ready because some water will spill.
Step 4: Remove mounting hardware. Use a basin wrench to reach up and loosen the mounting nuts holding the faucet to the sink. These nuts can be very tight, so apply penetrating oil and let it sit for 10 to 15 minutes if they will not budge.
Step 5: Lift out the old faucet. Once all connections and mounting hardware are removed, lift the faucet straight up and out. Clean the sink surface thoroughly with a putty knife to remove old plumber’s putty or caulk residue.
While you have access to the area under the sink, check for signs of water leaks around the drain connections or garbage disposal. This is a good time to address any minor issues before installing the new faucet.
How Do You Install the New Kitchen Faucet Step by Step?
With the old faucet removed and the sink surface clean, you are ready to install the new one. These steps apply to most standard kitchen faucets, though always check your specific model’s instructions.
Step 1: Apply the gasket or sealant. Most new faucets include a rubber or plastic gasket that sits between the faucet base and the sink. If your faucet does not include a gasket, apply a thin bead of plumber’s putty around the base.
Step 2: Feed the lines through. Insert the supply lines and any sprayer hose down through the mounting hole(s) in the sink. Position the faucet so it is centered and aligned with the back of the sink.
Step 3: Secure the faucet from below. Have a helper hold the faucet in place from above while you work underneath. Thread the mounting nuts onto the faucet studs and hand-tighten them. Then use a basin wrench to snug them firmly. Do not overtighten, as this can crack the sink.
Step 4: Connect supply lines. Attach the hot and cold supply lines to the corresponding shutoff valves. Hand-tighten first, then use a wrench for an additional quarter turn. Use plumber’s tape on threaded connections for a watertight seal.
Step 5: Connect the sprayer hose (if applicable). If your faucet has a pull-down or pull-out sprayer, connect the hose to the faucet body according to the manufacturer’s instructions. Make sure the hose moves freely without kinking.
Step 6: Test for leaks. Slowly turn on the shutoff valves and check every connection for drips. Run both hot and cold water through the faucet for several minutes. Check under the sink again after five minutes, as some leaks only appear once connections are pressurized.
If you notice your kitchen sink is draining slowly during testing, the issue is likely in the drain, not the faucet. Address that separately.
What Are the Most Common Mistakes When Replacing a Kitchen Faucet?
Even experienced DIY homeowners make these errors. Avoid them and your installation will go much smoother.
- Forgetting to turn off the water: This sounds obvious, but it is the number one mistake. Always verify the water is off before disconnecting anything.
- Not checking faucet compatibility: Buying a single-hole faucet for a three-hole sink (or vice versa) means a return trip to the store. Measure first.
- Overtightening connections: Cranking down too hard on plastic fittings or supply line nuts can cause cracks and leaks. Firm and snug is enough.
- Reusing old supply lines: Old rubber or corroded supply lines are a leak waiting to happen. Always install new braided stainless steel lines.
- Skipping the leak test: Some leaks take time to appear. Run water for at least five minutes and check every connection before closing up.
- Ignoring the garbage disposal connection: If your faucet connects to a sink with a garbage disposal, make sure the sprayer hose does not interfere with the disposal unit.
When Should You Call a Professional Plumber Instead of DIYing?
While replacing a kitchen faucet is a manageable DIY project for many homeowners, some situations call for professional help:
- Corroded or seized connections: If the old mounting nuts or supply line connections will not budge even with penetrating oil, forcing them can crack the sink or damage pipes.
- Non-standard plumbing: Older homes may have unusual pipe sizes, galvanized steel supply lines, or shutoff valves that need replacing.
- Granite or stone countertops: Drilling new mounting holes in stone requires specialized tools. One mistake can crack the countertop.
- You discover leaks or water damage: If you find mold, water-damaged cabinets, or dripping pipes under the sink, stop the project and call a plumber.
- No shutoff valves: If your sink lacks dedicated shutoff valves, a plumber should install them before you proceed.
A leaky faucet that keeps coming back after repair is also a sign that full replacement is overdue. A licensed plumber can assess the situation and ensure everything is installed correctly the first time.
How Much Does It Cost to Replace a Kitchen Faucet?
The total cost depends on the faucet you choose and whether you hire a professional.
- Faucet cost: Budget models start around $50, mid-range options run $150 to $300, and premium touchless or commercial-style faucets can reach $500 to $700.
- DIY installation: If you already own basic plumbing tools, the only cost is the faucet and new supply lines ($10 to $20).
- Professional installation: A licensed plumber typically charges $150 to $350 for labor, depending on the complexity and your location in Orange County or the Inland Empire.
For most homeowners, hiring a professional provides peace of mind and a guarantee that the work is done right, especially when dealing with older plumbing systems.
Ready for a hassle-free kitchen faucet replacement? Contact 911 Drain Lines and Plumbing at (714) 909-1937 for fast, professional faucet installation in Orange County and the Inland Empire.
Frequently Asked Questions About Kitchen Faucet Replacement
How long does it take to replace a kitchen faucet?
Most kitchen faucet replacements take between one and two hours for a DIY homeowner. A professional plumber can typically complete the job in 30 to 60 minutes. The biggest time variable is removing the old faucet, especially if connections are corroded.
Can I replace a kitchen faucet myself without plumbing experience?
Yes, replacing a kitchen faucet is considered a beginner-friendly plumbing project. As long as you have a basin wrench, follow the steps carefully, and do not overtighten connections, most homeowners can handle it. If you run into corroded pipes or non-standard fittings, call a professional.
Do I need to turn off the main water supply to replace a faucet?
Not usually. Most kitchen sinks have dedicated shutoff valves directly below the sink. Turn those off first. You only need to shut off the main water supply if the under-sink valves are missing, broken, or cannot be fully closed.
Should I replace the supply lines when installing a new faucet?
Yes. Old rubber or plastic supply lines deteriorate over time and can develop pinhole leaks or burst. Always install new braided stainless steel supply lines when replacing a faucet. They cost $10 to $20 and offer significantly better durability.
What size faucet do I need for my kitchen sink?
Check the number of mounting holes in your sink (one, three, or four) and measure the distance between them. Most single-hole faucets fit modern sinks, while widespread models require 8-inch spacing. Bring your measurements to the store or check the manufacturer’s specifications before purchasing.