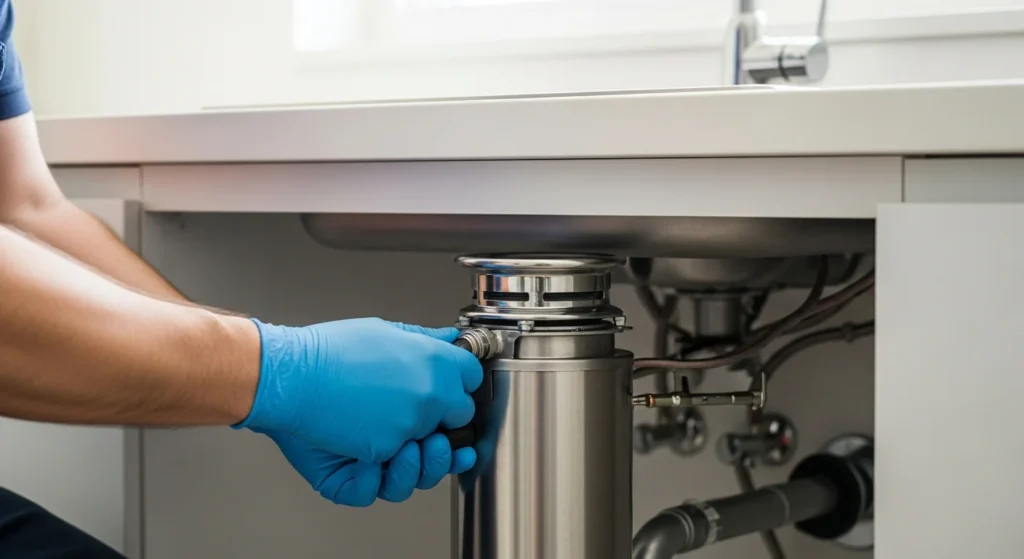




Replacing or installing a garbage disposal is one of those home improvement projects that sounds more intimidating than it actually is. With the right tools, a bit of patience, and careful attention to electrical safety, most homeowners can handle a garbage disposal installation in about an hour. This step-by-step guide walks you through the entire process, from removing the old unit to testing the new one.
That said, if you run into complications with wiring, plumbing connections, or an unusual sink configuration, don’t hesitate to contact a licensed plumber for help.
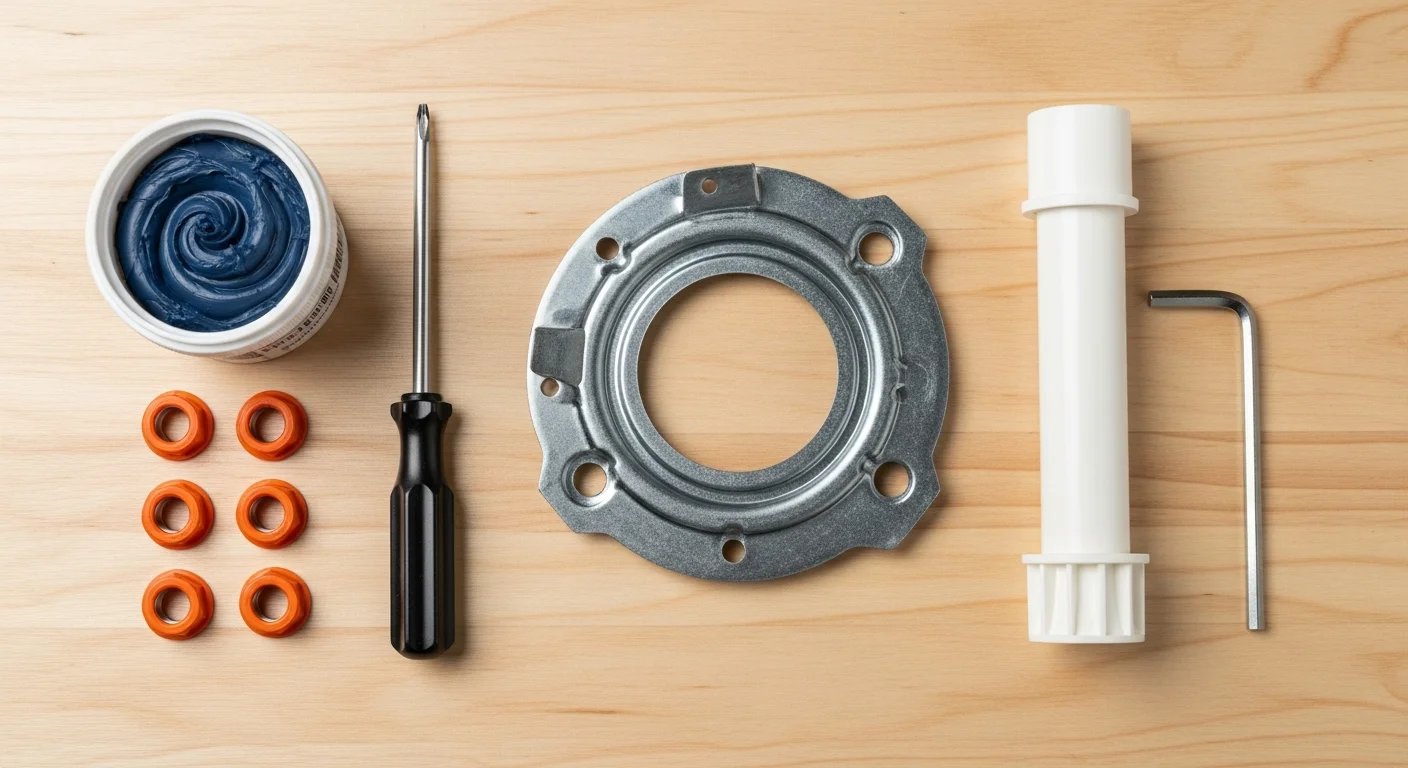
Tools and Materials You’ll Need
Before starting your garbage disposal installation, gather everything you need so the project goes smoothly:
Tools
- Screwdriver (flathead and Phillips)
- Pliers or channel-lock wrench
- Allen wrench (usually included with the disposal)
- Wire strippers
- Plumber’s putty
- Bucket and old towels
- Voltage tester
- Flashlight
Materials
- New garbage disposal unit
- Mounting assembly (often included)
- Discharge tube and fittings
- Wire nuts
- Electrical cord (if not hardwired)
- Dishwasher connector kit (if applicable)
Safety First: Electrical Precautions
This is the most important step of the entire project. Garbage disposals are electrical appliances connected to your home’s wiring, and working with live circuits can cause serious injury or death.
- Turn off the circuit breaker that supplies power to the disposal before doing any work. Don’t just flip the wall switch off.
- Use a voltage tester to confirm there is no power flowing to the wires under the sink.
- Never put your hand inside the disposal, even with the power off. Use pliers or tongs to remove objects.
- Keep the work area dry to prevent electrical shock.
If you are not comfortable working with electrical wiring, this is the step where calling a professional makes sense. Our residential plumbing team handles garbage disposal installations every day.
Step 1: Remove the Old Garbage Disposal
If you are replacing an existing unit, start by disconnecting it:
- Disconnect power. Turn off the breaker and verify with a voltage tester.
- Disconnect the drain. Loosen the slip-joint nut connecting the disposal to the drain trap. Have a bucket underneath to catch any water.
- Disconnect the dishwasher hose (if connected). Loosen the hose clamp where the dishwasher drain line connects to the disposal’s inlet.
- Disconnect the electrical wiring. Remove the cover plate on the bottom of the disposal, disconnect the wire nuts, and separate the wires.
- Remove the disposal from the mounting ring. Most units twist off counterclockwise. Support the disposal with one hand while turning it free with the other. These units are heavy (8-15 lbs), so be prepared.
- Remove the old mounting assembly if your new disposal requires a different one. Loosen the mounting ring, snap ring, and remove the flange from the sink drain opening.
Tip: If the old disposal is not working properly, take note of how it was wired and connected. Snap a photo with your phone for reference during reinstallation.
Step 2: Install the Mounting Assembly
If your new disposal uses the same mounting system (most use the EZ Mount or 3-Bolt Mount standard), you may be able to skip this step. Otherwise:
- Apply plumber’s putty. Roll a rope of plumber’s putty and press it around the underside of the new sink flange.
- Insert the flange into the drain opening from above.
- From below the sink, slide the fiber gasket, backup flange, and mounting ring onto the flange.
- Tighten the mounting screws evenly until the flange is snug against the sink. Wipe away excess putty that squeezes out around the top.
- Snap the snap ring into place to lock the mounting assembly.
Step 3: Wire the New Garbage Disposal
Reminder: Confirm the breaker is still off before touching any wires.
- Remove the electrical cover plate on the bottom of the new disposal.
- Feed the electrical cord or house wires through the strain relief fitting on the disposal.
- Connect the wires:
- Black (hot) wire to black wire, secure with a wire nut
- White (neutral) wire to white wire, secure with a wire nut
- Green or bare copper (ground) wire to the green grounding screw on the disposal
- Tuck the wires into the electrical compartment and replace the cover plate.
If you are using a plug-in cord rather than a hardwired connection, attach the cord to the disposal’s wiring plate, then plug it into a GFCI-protected outlet under the sink.
Step 4: Mount the Disposal
- Lift the disposal up to the mounting ring under the sink.
- Align the mounting tabs and rotate the disposal clockwise until it locks into place. You’ll feel and hear it click.
- Use a screwdriver or the wrenchette (included with most disposals) to tighten the mounting ring until the unit is secure.
Step 5: Connect the Drain and Dishwasher
- If you have a dishwasher, use a screwdriver and hammer to knock out the dishwasher drain plug from inside the disposal’s inlet. Remove the plug from inside the unit. Reconnect the dishwasher drain hose to the inlet and secure it with a hose clamp.
- Attach the discharge tube to the side of the disposal using the provided gasket and screws.
- Connect the discharge tube to the drain trap using a slip-joint nut. Make sure all connections are hand-tight, then snug with pliers. Avoid over-tightening, which can crack plastic fittings.
Proper drain connections are critical to preventing clogged kitchen sinks down the line. Make sure the discharge tube angles downward toward the drain trap for proper flow.
If you are upgrading your kitchen plumbing, you may also want to replace your kitchen faucet at the same time to get everything done in one project.
Step 6: Test the Installation
- Turn the circuit breaker back on.
- Run cold water into the sink for 30 seconds.
- Flip the wall switch to turn on the disposal. It should run smoothly without excessive vibration or unusual noises.
- Check under the sink for leaks at every connection point: the mounting flange, discharge tube, drain trap, and dishwasher hose.
- Test with small food scraps (soft items first) to verify the disposal grinds properly.
If you notice leaks, tighten the connections incrementally. If the disposal vibrates excessively, it may not be properly seated on the mounting ring.
Common Installation Mistakes to Avoid
- Forgetting to knock out the dishwasher plug. If your dishwasher connects to the disposal and you don’t remove the drain plug, water will back up into the dishwasher.
- Not using plumber’s putty on the flange. Skipping this step leads to leaks around the sink drain opening.
- Using hot water while grinding. Always use cold water when running the disposal. Cold water solidifies grease so it can be chopped up and flushed away rather than coating your pipes.
- Over-tightening plastic drain fittings. Plastic cracks easily. Snug is enough.
- Skipping the voltage test. Never assume the power is off. Always verify with a voltage tester.
- Ignoring the garbage disposal size. Make sure your new unit fits the space under your sink and matches your sink’s drain opening size (most are standard 3.5 inches).
For more tips on keeping your drains clear after installation, check out our guide on how to unclog a drain.
When to Call a Professional
While garbage disposal installation is a manageable DIY project for many homeowners, there are situations where professional help is the smarter choice:
- No existing electrical connection. If there’s no outlet or wiring under your sink, running a new circuit requires a licensed electrician.
- Non-standard plumbing. Older homes with unusual drain configurations or cast-iron pipes may need custom fitting.
- Septic system considerations. If you’re on a septic system, consult a plumber about whether a disposal is appropriate and which type to choose.
- You’re uncomfortable with electrical work. There’s no shame in leaving wiring to a pro. Electrical mistakes can be dangerous.
- Leaks persist after installation. Persistent dripping can indicate a mounting issue or a problem with the plumbing connections that needs expert attention.
At 911 Drain Lines and Plumbing, our licensed plumbers handle garbage disposal installations throughout Orange County and the Inland Empire. We offer same-day service, upfront pricing, and 24/7 availability for emergency plumbing needs. Contact us or call (714) 746-7611 to schedule your installation.
Our drain cleaning services can also help if your new disposal isn’t draining properly after installation.
Frequently Asked Questions
How long does it take to install a garbage disposal?
Most garbage disposal installations take between 30 minutes and 1 hour if you are replacing an existing unit with the same mounting system. A first-time installation without existing wiring or plumbing can take 2-3 hours or more.
Can I install a garbage disposal myself, or do I need a plumber?
Many homeowners can handle a straightforward replacement on their own. However, if you need new electrical wiring, have non-standard plumbing, or are not comfortable working with electrical connections, hiring a licensed plumber is the safer option.
What is the average garbage disposal cost?
Garbage disposal units typically range from $80 to $400 depending on the brand, motor power (1/3 HP to 1 HP), and features like noise insulation and stainless steel grind chambers. Professional installation costs vary, so contact your local plumber for an estimate.
Do I need to turn off the breaker to install a garbage disposal?
Yes, absolutely. Always turn off the circuit breaker that powers the disposal before starting any installation work. Verify the power is off with a voltage tester before touching any wires. This is the single most important safety step in the entire process.
What should I not put in a garbage disposal?
Avoid putting grease, oil, fibrous vegetables (celery, artichokes), coffee grounds, pasta, rice, bones, fruit pits, or non-food items into your disposal. These can cause clogs, dull the blades, or damage the motor.
Need Help With Your Garbage Disposal Installation?
If you would rather leave the installation to the pros, or if you have run into a complication during your DIY project, 911 Drain Lines and Plumbing is here to help. Our licensed plumbers handle garbage disposal installations, replacements, and repairs throughout Orange County and the Inland Empire.
Call (714) 746-7611 or contact us online to schedule your garbage disposal installation today.